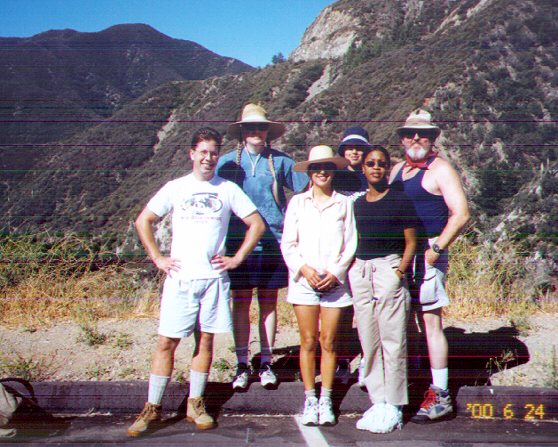
Photo courtesy of Bob Dollins
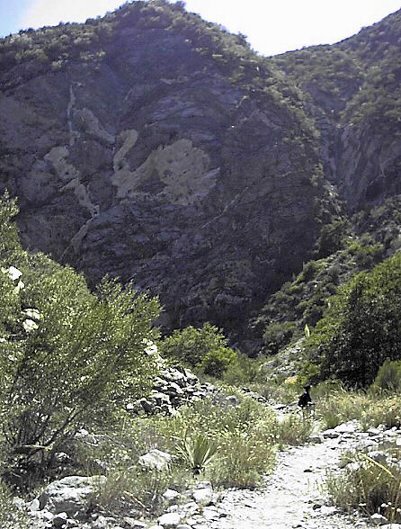
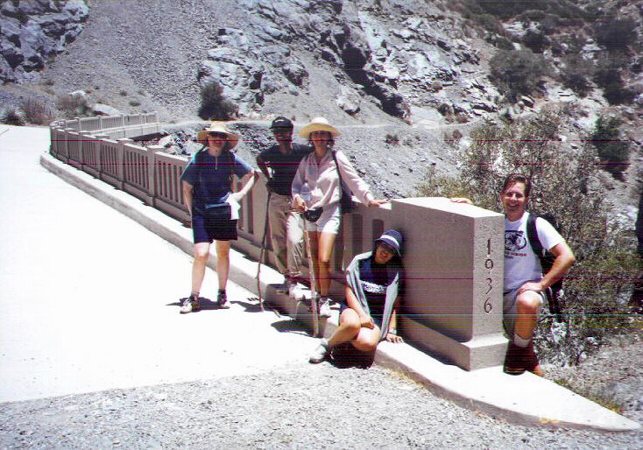
|Home |Mighty BBC Hikers |Off We Go! |Christine Sadipe |River Crossing |Beba & Maria |Mark Tower |Rattlesnake |Yucca & Sky |Laura Hughes |Swan Rock |Hikers & Yucca |At the Bridge#1 |At the Bridge#2 |The Bridge |Laura Cooling Off |Maria & Mark - Hungry |Bob Swimming |Mark Cooling Off |Mark - Natural Jacuzzi |Resting Under the Bridge |Hikers Crossing the Bridge |Mighty Tired BBC Hikers |

Photo courtesy of Bob Dollins
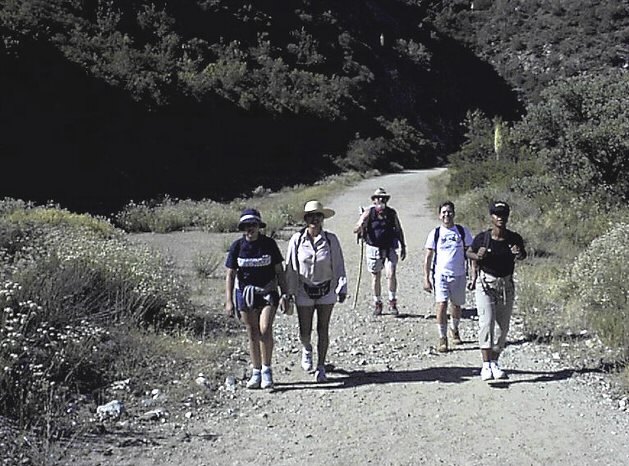
Photo courtesy of Laura Hughes
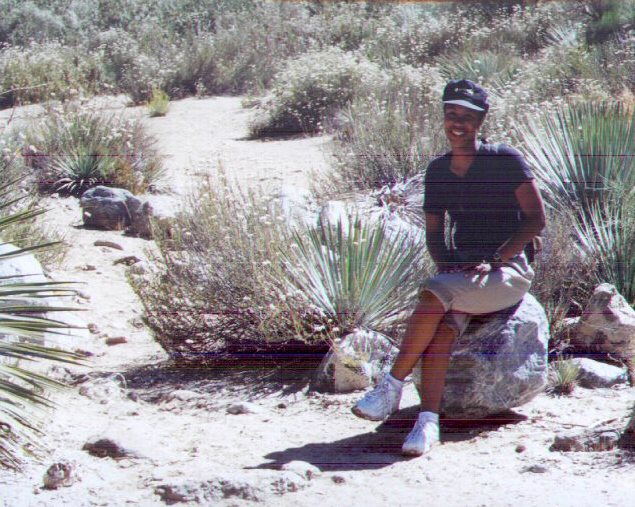
Photo courtesy of Bob Dollins
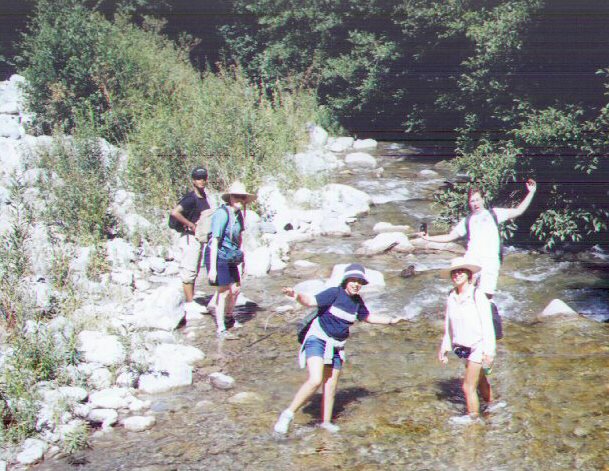
Photo courtesy of Bob Dollins
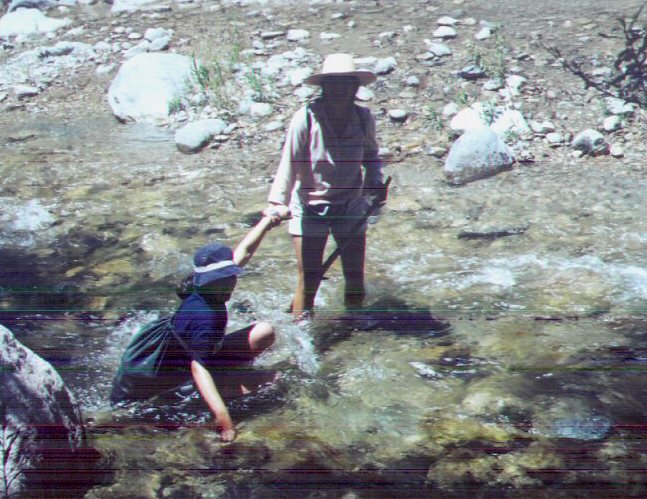
Photo courtesy of Mark Tower
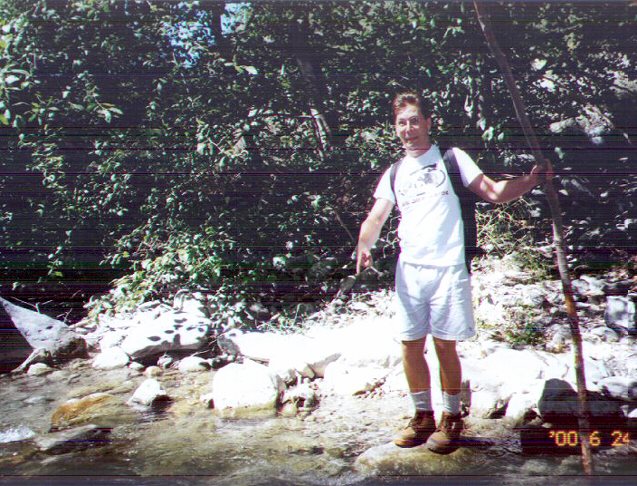
Photo courtesy of Bob Dollins
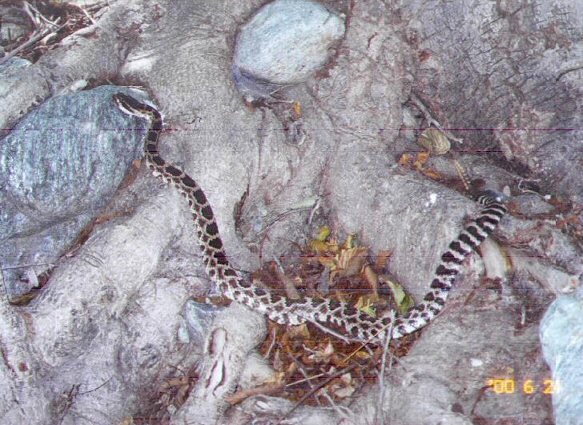
Photo courtesy of Bob Dollins
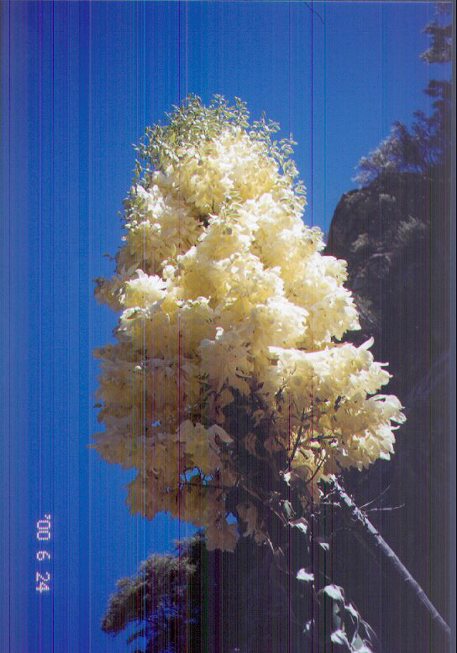
Photo courtesy of Bob Dollins

Photo courtesy of Bob Dollins
 Click on photo for Google Maps © view of this location |
Photo courtesy of Laura Hughes
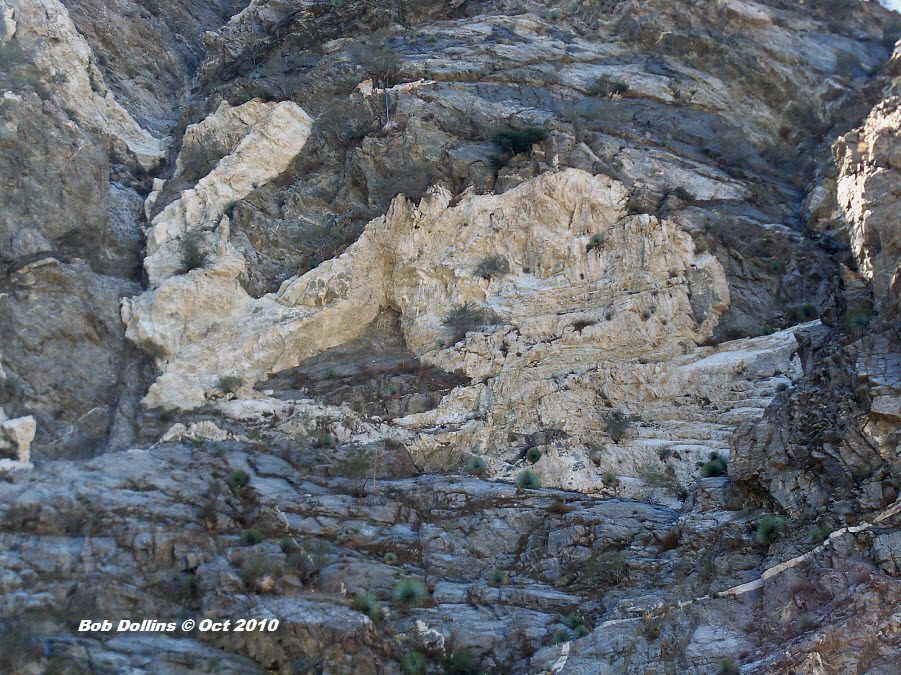

Photo courtesy of Bob Dollins
 Click on photo for Google Maps © view of this location |
Photo courtesy of Bob Dollins
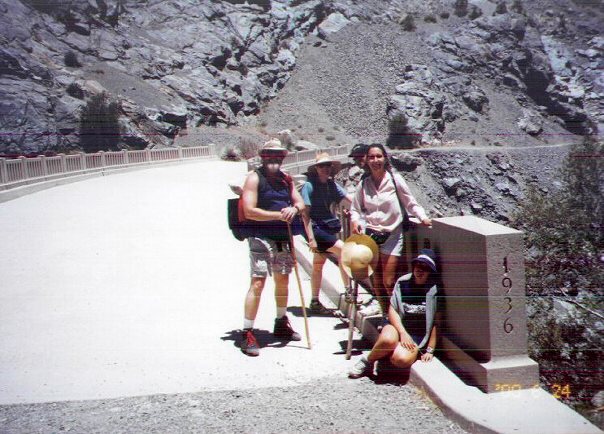
Photo courtesy of Bob Dollins

Photo courtesy of Bob Dollins
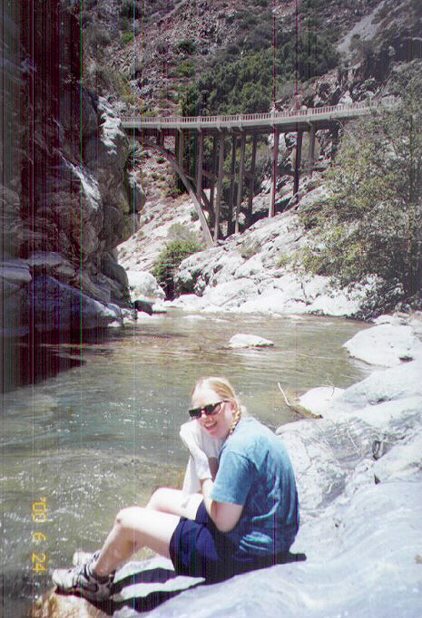
Photo courtesy of Bob Dollins
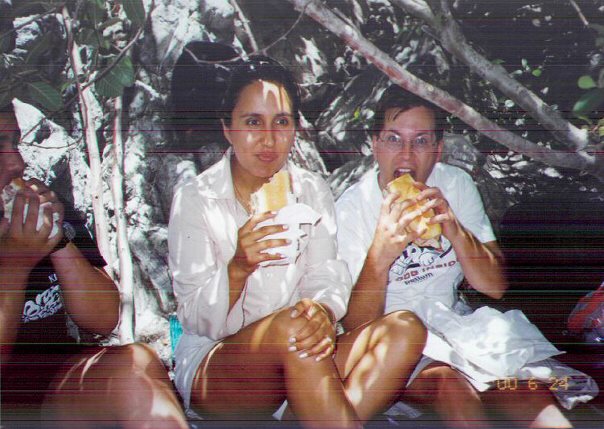
Photo courtesy of Bob Dollins
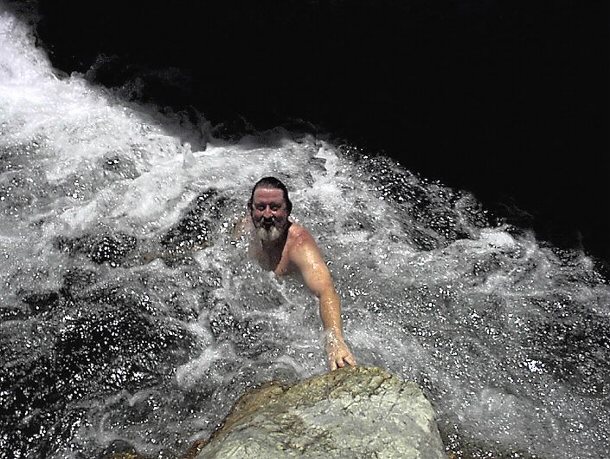
Photo courtesy of Laura Hughes
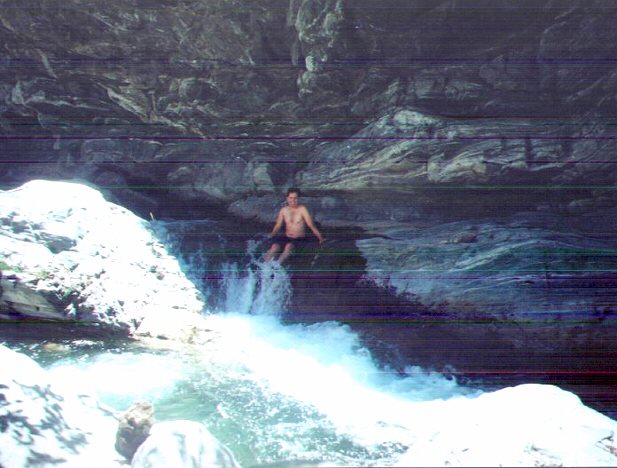
Photo courtesy of Mark Tower
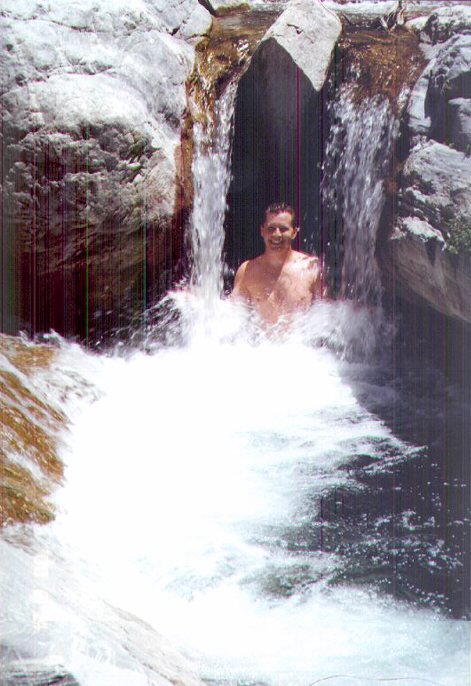
Photo courtesy of Bob Dollins
Photo courtesy of Bob Dollins
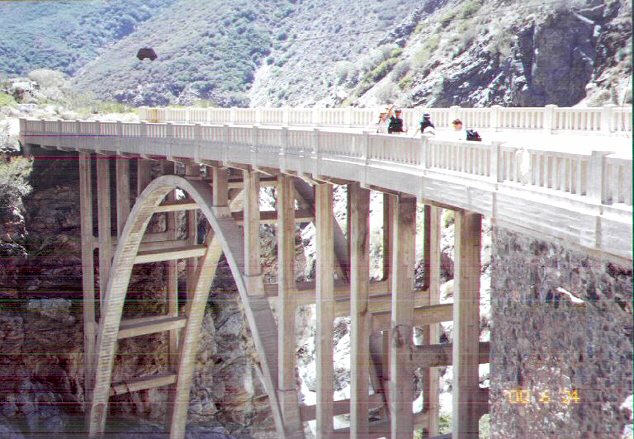
Photo courtesy of Bob Dollins
Photo courtesy of Bob Dollins
|Home |Top |Mighty BBC Hikers |Off We Go! |Christine Sadipe |River Crossing |Beba & Maria |Mark Tower |Rattlesnake |Yucca & Sky |Laura Hughes |Swan Rock |Hikers & Yucca |At the Bridge#1 |At the Bridge#2 |The Bridge |Laura Cooling Off |Maria & Mark - Hungry |Bob Swimming |Mark Cooling Off |Mark - Natural Jacuzzi |Resting Under the Bridge |Hikers Crossing the Bridge |Mighty Tired BBC Hikers |